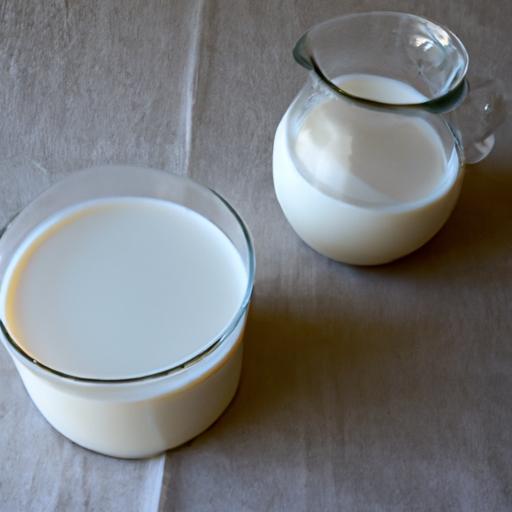
There’s something wonderfully satisfying about crafting your own food from scratch-especially when it’s as simple, nourishing, and versatile as plant-based milk. Whether you’re a seasoned vegan, lactose-intolerant, or simply curious about cutting down on processed products, DIY plant-based milk offers a fresh, flavorful choice that you can customize to your taste and lifestyle. From creamy almond milk to rich oat milk, making your own is not only surprisingly easy but also opens the door to endless creativity and wholesome goodness.In this article, we’ll walk you through the simple steps to transform humble nuts, seeds, and grains into silky, delicious plant-based milks right in your kitchen-because the best milk is the one you make yourself.
DIY Plant-Based Milk: Choosing the Best Nuts, Seeds, and Grains for Creamy Goodness
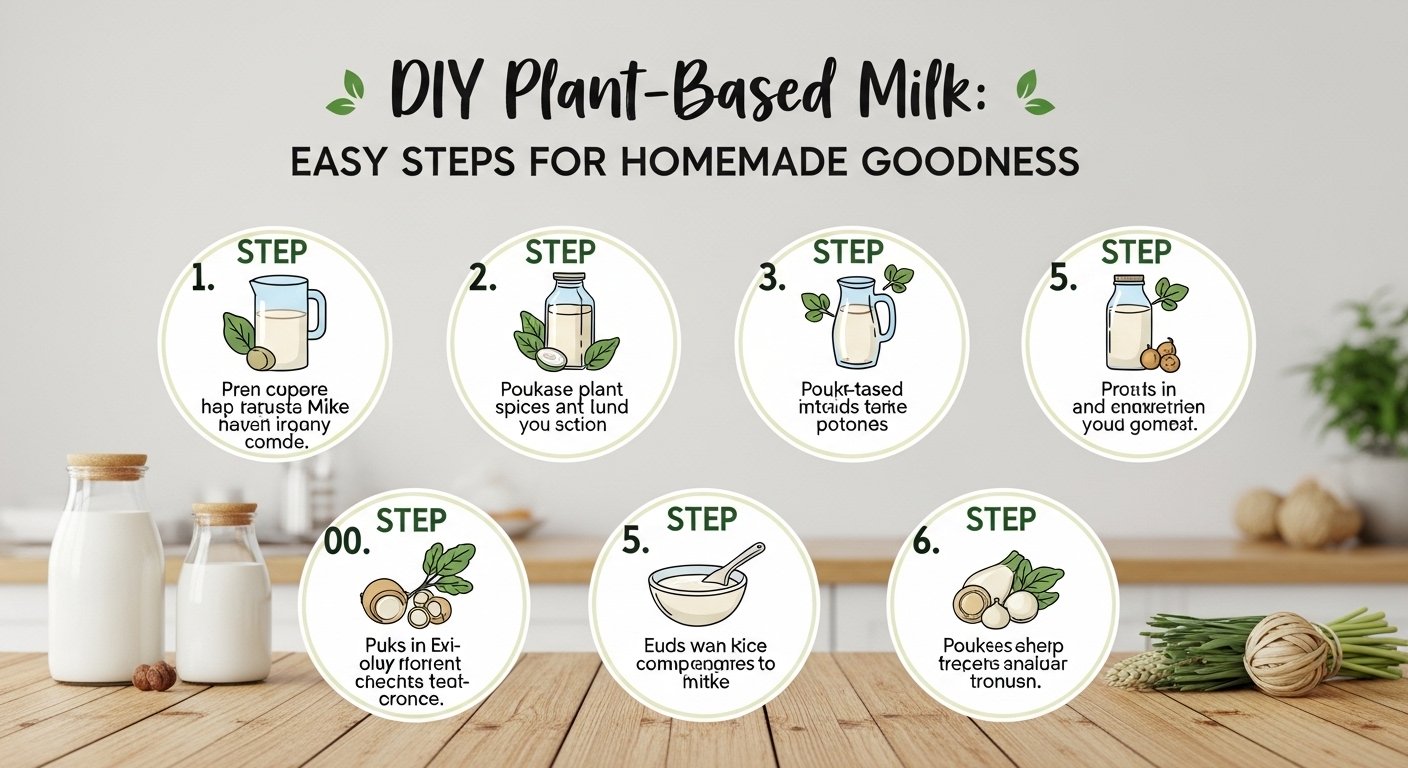
Mastering DIY plant-based milk means unlocking a world of fresh, creamy, and naturally nourishing alternatives to store-bought varieties. This journey begins with selecting the finest nuts, seeds, and grains, soaking them correctly, and blending to perfection-techniques that elevate both flavor and nutrition while creating irresistibly smooth milk. Whether you crave a velvety almond milk or a rich oat blend, these steps empower you to customize every batch easily from your kitchen.
Prep and Cook Time
- Soaking: 6-12 hours (or overnight)
- Blending: 3-5 minutes
- Straining: 5 minutes
- Total: Approximately 6-12 hours (mostly hands-off)
Yield
Approximately 4 cups (1 liter) of creamy plant-based milk
Difficulty Level
Easy - Perfect for beginners and seasoned home cooks alike
Ingredients
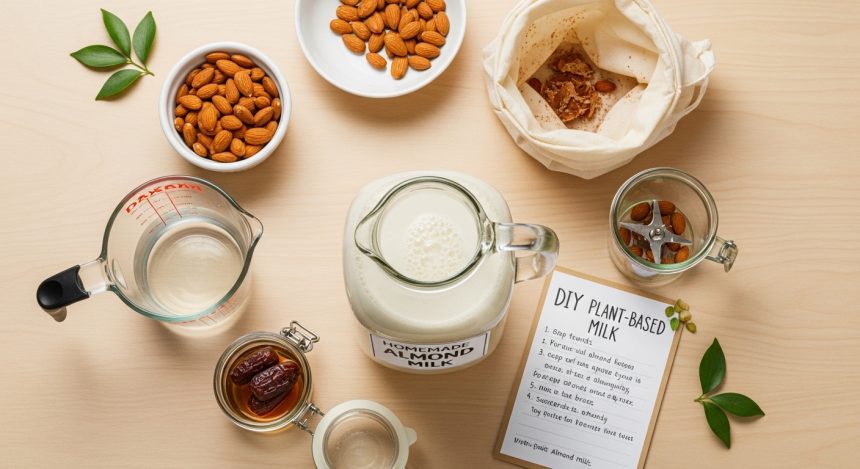
- 1 cup raw nuts, seeds, or grains (examples: almonds, cashews, hemp seeds, oats)
- 4 cups filtered water
- 1 tsp vanilla extract (optional for flavoring)
- 1-2 tbsp natural sweetener (maple syrup, dates, or agave nectar)
- pinch of sea salt (to enhance flavor)
Instructions
- choose quality raw nuts, seeds, or grains. For the creamiest texture, almonds, cashews, or hemp seeds work wonders, while oats and sunflower seeds bring a mild, naturally sweet profile.
- Soak your chosen ingredient: Place in a bowl and cover with plenty of filtered water. Soak for 6-12 hours or overnight to soften and release nutrients. Soaking also reduces phytic acid,which can inhibit mineral absorption.
- Drain and rinse thoroughly. This fresh rinse removes any residue and prepares your base for creamy blending.
- Add ingredients to a high-speed blender: Combine the soaked item with 4 cups of filtered water, your chosen natural sweetener, vanilla extract, and a pinch of salt.
- Blend on high speed for 3-5 minutes. Aim for a silky, emulsified mixture. for an ultra-smooth finish, blend longer, allowing the blades to fully break down the fibers for a luxuriously creamy texture.
- Strain your milk: Use a nut milk bag, fine mesh sieve, or a clean cheesecloth over a large bowl. Gently squeeze to extract every drop of liquid, leaving behind nutrient-packed pulp perfect for baking or smoothies.
- Transfer to a clean glass bottle or jar. Refrigerate and shake well before each use. Fresh plant-based milk typically lasts 3-5 days.
tips for Success: Straining Secrets & Flavor Customization
- For silkier milk, double strain. Repass milk through the strainer to catch finer sediment and achieve a smoother sip.
- Customize your milk’s character: Add a cinnamon stick during blending for warm spice, or a few soaked dates for natural caramel sweetness.
- Soaking times matter: Harder nuts like almonds benefit from a longer soak, while soft cashews can be soaked for a shorter period or even blended raw.
- Reserve your pulp: Don’t toss that leftover pulp! Dehydrate it for nutty flour or blend it into energy balls and baked goods.
- Always use filtered water. Pure water ensures no off-flavors and the cleanest milk.
serving Suggestions
Pour your freshly made plant-based milk over morning oatmeal or cereal,swirl into coffee or tea for a creamy lift,or blend it into smoothies for extra nutrition and creaminess. Garnish warm milk with a pinch of cinnamon or a sprinkle of nutmeg for a cozy treat. Chill the milk thoroughly and serve it over ice for a refreshing dairy-free refreshment.For a decadent, café-style feel, use it as a base for homemade vegan lattes by frothing gently over heat.
Nutritional Snapshot per 1 Cup Serving
| Calories | Protein | carbohydrates | Fat |
|---|---|---|---|
| 60-90 kcal | 2-4 g | 3-6 g | 3-6 g |
Image: Creamy DIY plant-based milk poured into a glass with almonds and oats in the background.

By embracing these simple soaking, blending, and straining techniques, you’ll unlock the full potential of your ingredients, elevating your DIY plant-based milk with unparalleled creaminess and flavor. For more inspiration on plant-powered beverages, check out our Top 10 Vegan Smoothie Recipes. To dive deeper into the nutritional science behind plant milks,visit healthline’s Guide to Plant-Based Milk.
Q&A
Q&A: DIY Plant-Based Milk – Easy Steps for Homemade Goodness
Q1: Why should I make my own plant-based milk at home rather of buying it from the store?
A1: Homemade plant-based milk is a game-changer! You control every ingredient,ensuring no needless additives,preservatives,or sweeteners. Plus, it’s often more cost-effective and fresher-tailored exactly to your taste and dietary needs. homemade milk also reduces packaging waste, making it a win for both you and the planet.
Q2: What are the most popular nuts, seeds, and grains to use for DIY plant-based milk?
A2: Almonds, cashews, and hazelnuts are classic nut choices, beloved for their creamy textures. Seeds like hemp, sesame, and sunflower add a nutritional punch. Grains such as oats, rice, and quinoa create smooth, mild bases perfect for breakfast or baking. Each brings its own flavor and benefits, so experiment to find your favorite!
Q3: How do I prepare nuts or seeds before making milk?
A3: Soaking is key! soak nuts or seeds in water overnight or for at least 6-8 hours. This softens them, making blending easier and unlocking nutrients while reducing naturally occurring enzyme inhibitors. After soaking,rinse them well before blending into your milk base.
Q4: What tools do I need to make plant-based milk at home?
A4: Keep it simple! A high-speed blender is your best friend for breaking down nuts and seeds into silky smooth milk. You’ll also wont a fine-mesh nut milk bag, cheesecloth, or a clean kitchen towel to strain the milk and achieve that velvety texture.Lastly, a large bowl to catch the milk and a storage jar to keep it fresh.
Q5: Can I customize the flavor and sweetness of my homemade milk?
A5: Absolutely! Add natural flavor boosters like a pinch of vanilla extract, a dash of cinnamon, a few pitted dates, or a drizzle of maple syrup or agave nectar. For a hint of saltiness that enhances sweetness, a tiny pinch of sea salt works wonders. Remember, customizing is part of the fun-taste as you go!
Q6: How do I store homemade plant-based milk, and how long does it last?
A6: Store your milk in a clean, airtight jar or bottle in the refrigerator. It usually stays fresh for 3 to 5 days. Always give it a good shake before each use, as natural separation is normal without preservatives.
Q7: Can I use the leftover pulp from making plant-based milk?
A7: Don’t toss that golden pulp! It’s full of fiber and goodness. Use it in smoothies,bake it into muffins or crackers,mix it into oatmeal,or add it to granola bars. Upcycling pulp reduces waste and boosts your recipes with extra nutrition.
Q8: Is making plant-based milk time-consuming or expensive?
A8: Not at all! The most time-intensive step is the soaking, but that’s mostly hands-off time. Blending and straining take about 10-15 minutes. Cost-wise, bulk nuts and grains bought wholesale can be very budget-amiable, especially compared to premium brands on store shelves.Plus, the flavor and freshness you get can’t be beat.
Q9: Can children enjoy homemade plant-based milk?
A9: Definitely! Homemade plant-based milk can be a wholesome addition to kids’ diets, offering variety and great taste. Just ensure nuts or seeds used are appropriate for your child’s age and dietary needs, and watch for any allergies or sensitivities.
Q10: What’s the easiest plant-based milk to start with as a beginner?
A10: Oat milk is a fantastic gateway milk-quick to make,naturally sweet,and requires minimal soaking. Almond milk is another favorite but needs the soaking step. Start simple and build up your confidence; soon you’ll be a DIY plant-based milk maestro!
The Way Forward
embracing the art of DIY plant-based milk not only nourishes your body but also reconnects you with the simple joys of homemade goodness. With just a few easy steps and natural ingredients, you can customize your milk to suit your taste and lifestyle-free from additives, preservatives, and surprises. Whether it’s creamy almond, velvety oat, or rich coconut, crafting your own plant-based milk empowers you to savor freshness in every sip while reducing waste and supporting sustainability. So why wait? roll up your sleeves, blend your favorite nuts or grains, and toast to the wholesome, delicious difference that only homemade plant-based milk can bring. Your kitchen-and your health-will thank you.